Use your Dynamics contacts for festive mailing lists!
On the 16th day of Advent, Dynamics saved me time…
By using mail merge to export address lines!
Want to send out some holiday cards to clients? By exporting your contacts’ details from Dynamics, you can complete a mail merge and save yourself a lot of much needed time this holiday!

How to export the data from Dynamics
To do a label mail merge in Word, we’re now going to be doing a three-step process:
- Prepare the data.
- Export the data.
- Perform the mail merge.
Preparing the data
We’re going to take a view in Dynamics and add in all the relevant address fields. There are different ways to go out this process but we find it’s easier to export all the data and then take away what we do not want in Excel.
- Start in contacts.
- Find and click on the below icon (two items left of the ‘Quick find’ search bar):

- This is where we can play with the address fields and edit columns if needed. Add in the needed columns, re-order them with your mouse, and click ‘Apply’ when happy. (Tip: ensure the address lines are pulled through in separate fields to help formatting later).
- Navigate to the three dots in the top right of the screen and then click the arrow next to ‘Create View’. Then, save as a new view.
- Name this something you will remember (such as ‘Addresses’) and then hit ‘Save’. This will show you the compiled list of data.
Exporting the data
The next step in the process is exporting this data from Dynamics to Excel.
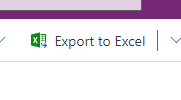
- Click the button ‘Export to Excel’ and open the document after it has downloaded.
- From your screen in Excel, you can edit and delete the rows of the data you do not want.
- Save this document as a ‘CSV ((Comma Delimited))’ file.
- Close this window down and open Microsoft Word.
Perform the mail merge
The final step is performing the label mail merge in Word.
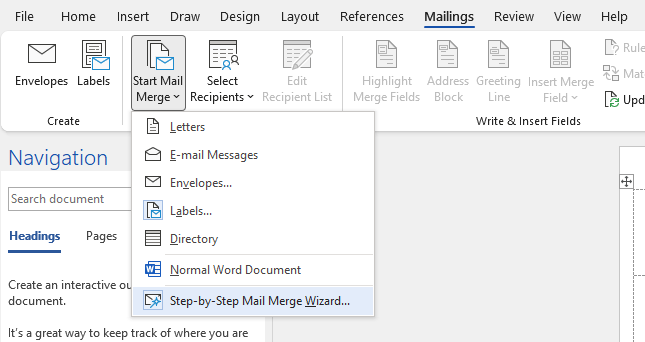
- With a new document in Word open, click ‘Mailings’ - ‘Start Mail Merge’ - then, ‘Step-by-Step Mail Merge’.
- This will open a new panel to the right of the screen.
- To create labels from the address information, select ‘labels’, then click ‘next’ toward the bottom of the panel.
- On the next page, click to edit the ‘label options’.
- Ensure that it says ‘Microsoft’ in the label vendors drop-down.
- Once happy, click ‘OK’.
- This will create your label format.
- Click next from the bottom panel of the screen.
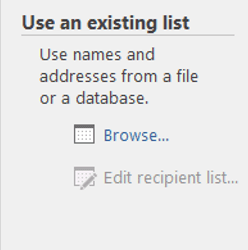
- Click ‘Browse’. You will be inserting the Excel document which you previously saved.
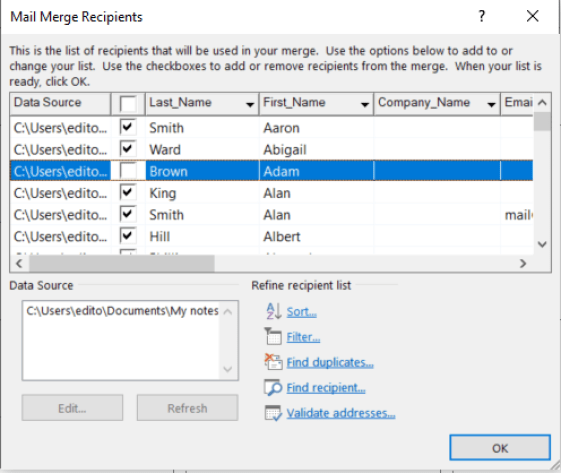
- Select (and un-select) any contacts you do not wish to include in the final mail merge. You can always come back and edit this list.
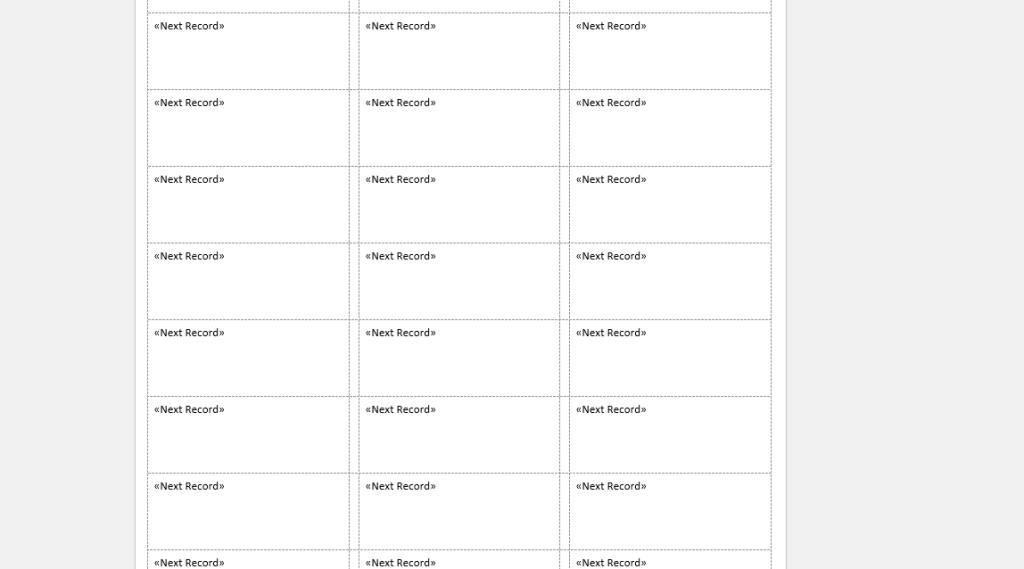
- Click next on the panel (to Step 4 of 6) and with your cursor in the first label, click the button in the right panel called ‘More items…’ This is where you can chose what fields to include in your label.
- Select the fields you want and then click ‘Insert’.
- Once happy with how the label will be formatted, click ‘Update all labels’ and then ‘Next’.
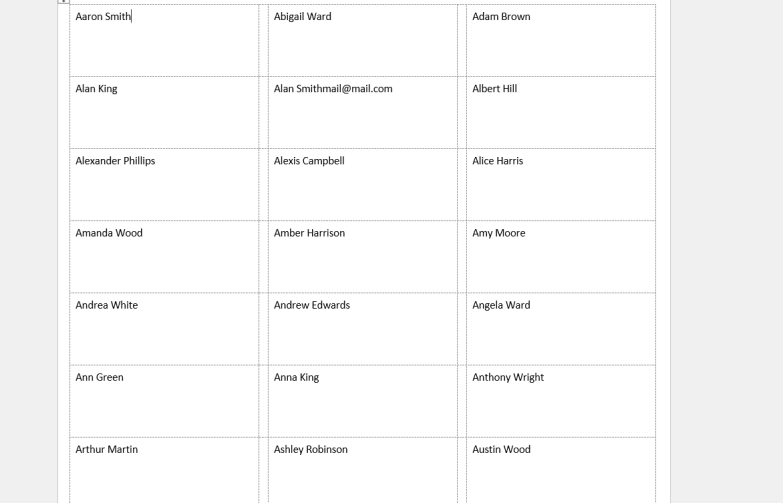
- This should have pulled through your contacts’ details!
- Continue to the next page to complete the merge!
Micro Office Advent
You can quickly pull through your contact information to create labels for your holiday cards by exporting from your Dynamics contacts!
For more tips and tricks like this make sure to take a look at our Micro Office Huddle group where we share free bits of information about all-things technology!
This blog is the twelfth in our Micro Office Advent! Make sure to check back on the page each day for more fun things just like this!
To read the last post in the series, see here!To see how you can add a festive banner to your email signatures, see the next post in our series!
When will the Micro Office Huddle run?
The huddles will run on Tuesdays from 08:30 – 10:00. Join our Facebook group and sign up to join the huddle!
Remember you can also follow us / keep up to date at…. Facebook / Linked In / Blogs or sign up for our newsletter D365 Byte Sized.
1 Comment
Comments are closed.