Create your own festive designs with PowerPoint!
On the 1st day of Advent, D365 gave to me…
Something fun, festive, and easy!
Create your own wrapping paper with PowerPoint!
Forgotten to buy wrapping paper for that work Secret Santa? Looking for ways to entertain the kids during the holidays? We’ve all been there. Here’s a quick solution for the last-minute gifters!
Microsoft PowerPoint is a great tool for making effective presentations—but did you know it can also be used to make festive wrapping paper and cards? It’s great fun for both kids and yourself alike and can be a great way of exploring the graphic side of PowerPoint.
Getting Started
- Get your festive images: Do you have an abundance of ‘cute’ images from your children? Snap some photos and transfer them to your computer! These can be perfect for adding a personal touch to your wrapping paper (and distract everyone from the fact you forgot to buy some!). Our office dog Alice hasn’t been doodling us any pictures, however, so I’ve taken some free images from the internet.
- Open a blank PowerPoint presentation and remove any text boxes.
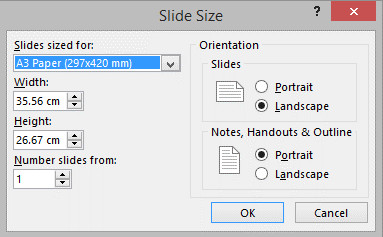
- Navigate to the ‘Design’ tab in the Ribbon at the top. From here, you should be able to see a button called ‘Slide Size’. (I’ve chosen A3, but select either this or A4 depending on the size of your printer).
Adding in your images
- Go to ‘Insert’ and select the images you would like to include.
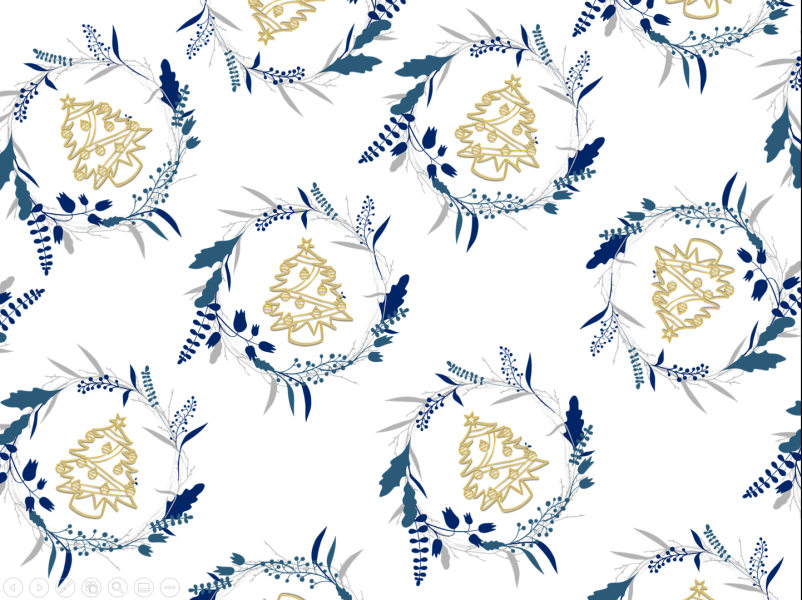
- Arrange them around your slide however you like. I’ve used images with a transparent background to create a design by grouping the images together. To do this, place your images however you would like them to appear. Then, hold own alt and select the images. Right click, and click on ‘Group’.
- To create more of the design, hit ‘ctrl’ and ‘D’ at the same time and your grouped images will be duplicated.
- Continue to arrange these images however you like until you are happy with the design.
Finishing touches
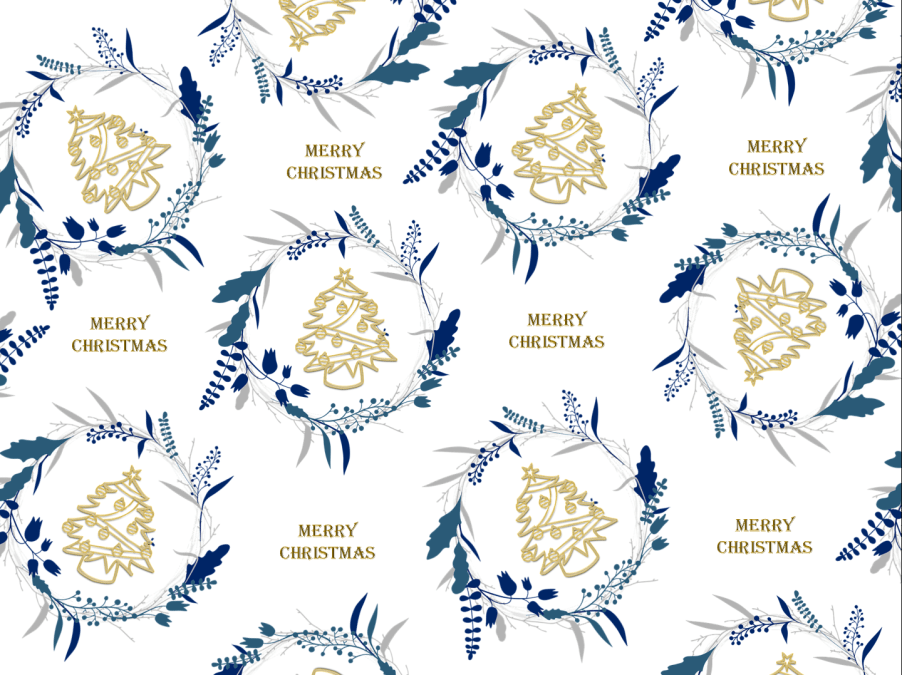
Add in any finishing touches to your wrapping paper (or card!). To make my paper more festive-themed, I’ve added in some Word Art saying ‘Merry Christmas’!
To add in your own Word Art:
- Head to the ‘Insert’ tab in the Ribbon and select ‘Word Art’.
- Select your design (and remember you can edit the font and colours!) then write your text.
- Use the drag method to place the words wherever you want them and duplicate to create more!
How to rotate images in PowerPoint?
- Click on a single image.
- Click on the circular arrow.
- Move your mouse to rotate.
- Repeat this on all pictures and words!
Print and Go!
You now have a page you can fold into a card or use as wrapping paper!
This is a quick and fun use of PowerPoint. For more tips and tricks like this make sure to take a look at our Micro Office Huddle group where we share free bits of information about all-things technology!
This blog is the first in our Micro Office Advent! Make sure to check back on the page each day for more fun things just like this!
Read the next Advent blog here!
When will the Micro Office Huddle run?
The huddles will run on Tuesdays from 08:30 – 10:00. Join our Facebook group and sign up to join the huddle!
Remember you can also follow us / keep up to date at…. Facebook / Linked In / Blogs or sign up for our newsletter D365 Byte Sized.
2 Comments
Comments are closed.