If you have used OneNote for screen capture, (which in my opinion is the best way to take a screenshot) you will already know the pain when the short cut key stops working! I re-programmed mine, all was good, and then I got a new computer. So, I had to go through the pain of working out how to get the short cut key back again.
The screen capture in OneNote was our Technology Spotlight for a recent Micro Office Huddle , so here are the details of how to set that shortcut key.
Setting your Shortcut Key
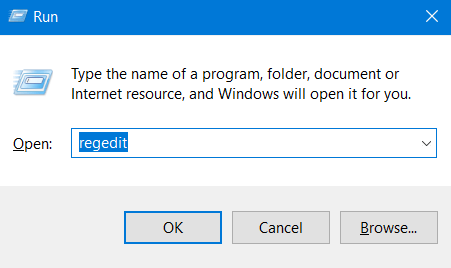
1. Open the Registry Editor
As long as you have the correct permissions, the easiest way is to open the run prompt and type in ‘regedit’.
2. Find the OneNote Folder
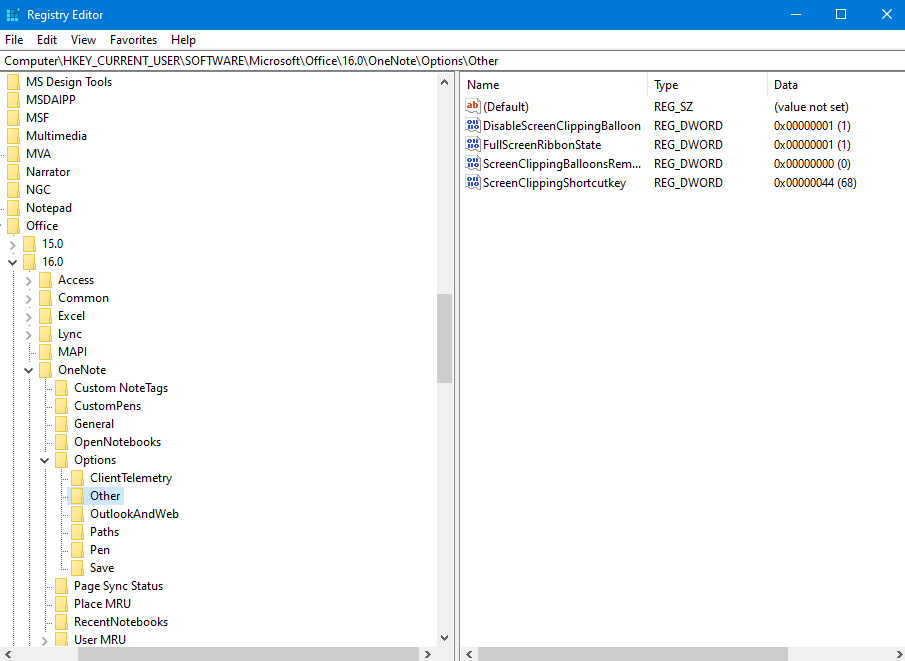
I have OneNote 2016, if you have a different version, you should use a different folder i.e .for 2013 use 13.0.
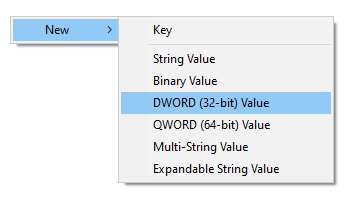
3. Set your shortcut key
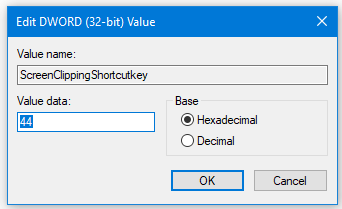
Now, you are done. I recommend that you restart your computer for everything to work.
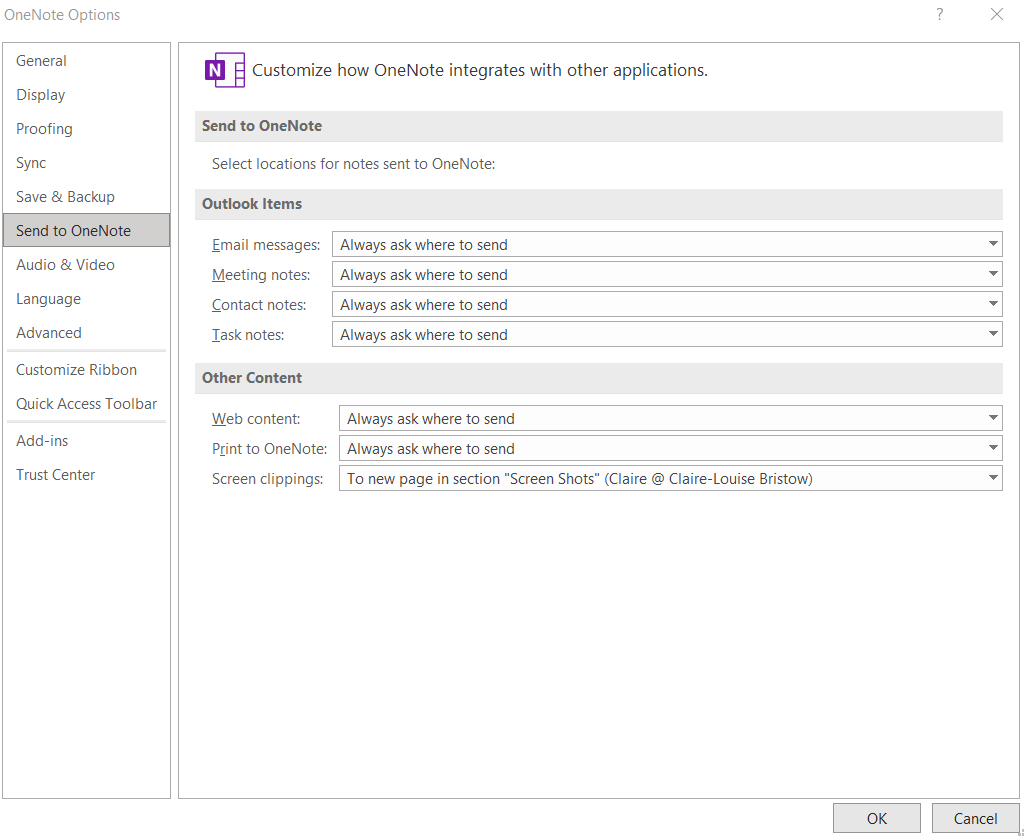
Using and setting your default Folder
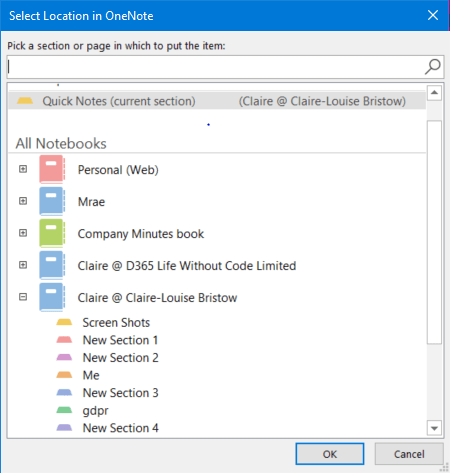
The first time you try to do a screenshot, you will be prompted to select where you want it to go.

When will the Micro Office Huddle run?
The huddles will run on Tuesdays from 08:30 – 10:00. Join our Facebook group and sign up to join the huddle! To learn more and find out how you can sign up, take a look at our page.
Remember you can also follow us / keep up to date at…. Facebook / Linked In / Blogs or sign up for our newsletter D365 Byte Sized.
1 Comment
Comments are closed.